


The steps will go
cleanse (Jason stuff)
steam (towels)
scrub (first white bowl)
peel (blue cup)
mask (second white bowl)
tone (glass)
moisturizer (tall jar)
 \
\
I would recommend wrapping up your hair. You're going to be putting a lot of stuff on your face, and keeping it out of your hair can be difficult.

Wash your face like you normally would. Mostly you want to get your make up off your face, so that you can get right to your skin.


If you went to an actual salon they would give you a steam treatment. This makes the skin soft and opens pores. If you were a professional, this would make extraction a lot easier too. Despite how much we like to do our own extractions, it's not good for us. We bruise our skin.
Anyway, back to steaming.
You can do this one of two ways.
1. Boil water and hold your head over it until your skin is warm and soft. Since that's hard on my back, I like to do it the second way.
2. Take a wash cloth, preferably a clean one, and run it under hot water. Put it on your face.

You can apply some essential oils if you want to add some extra oomph to the facial, but I didn't have any so I didn't.

All right, here comes some DIY. I scoured the internet and found this pretty cool recipe for a oatmeal facial scrub.

You'll need:
A bowl
Tablespoon
Oatmeal
Honey
Coconut Oil

2 Tablespoons of oatmeal

1 Tablespoon of honey

1 Tablespoon of coconut oil. (Or any, really, I'm just partial to coconut oil.)
You may want melt the coconut oil before hand, but as we all know. I'm an idiot.
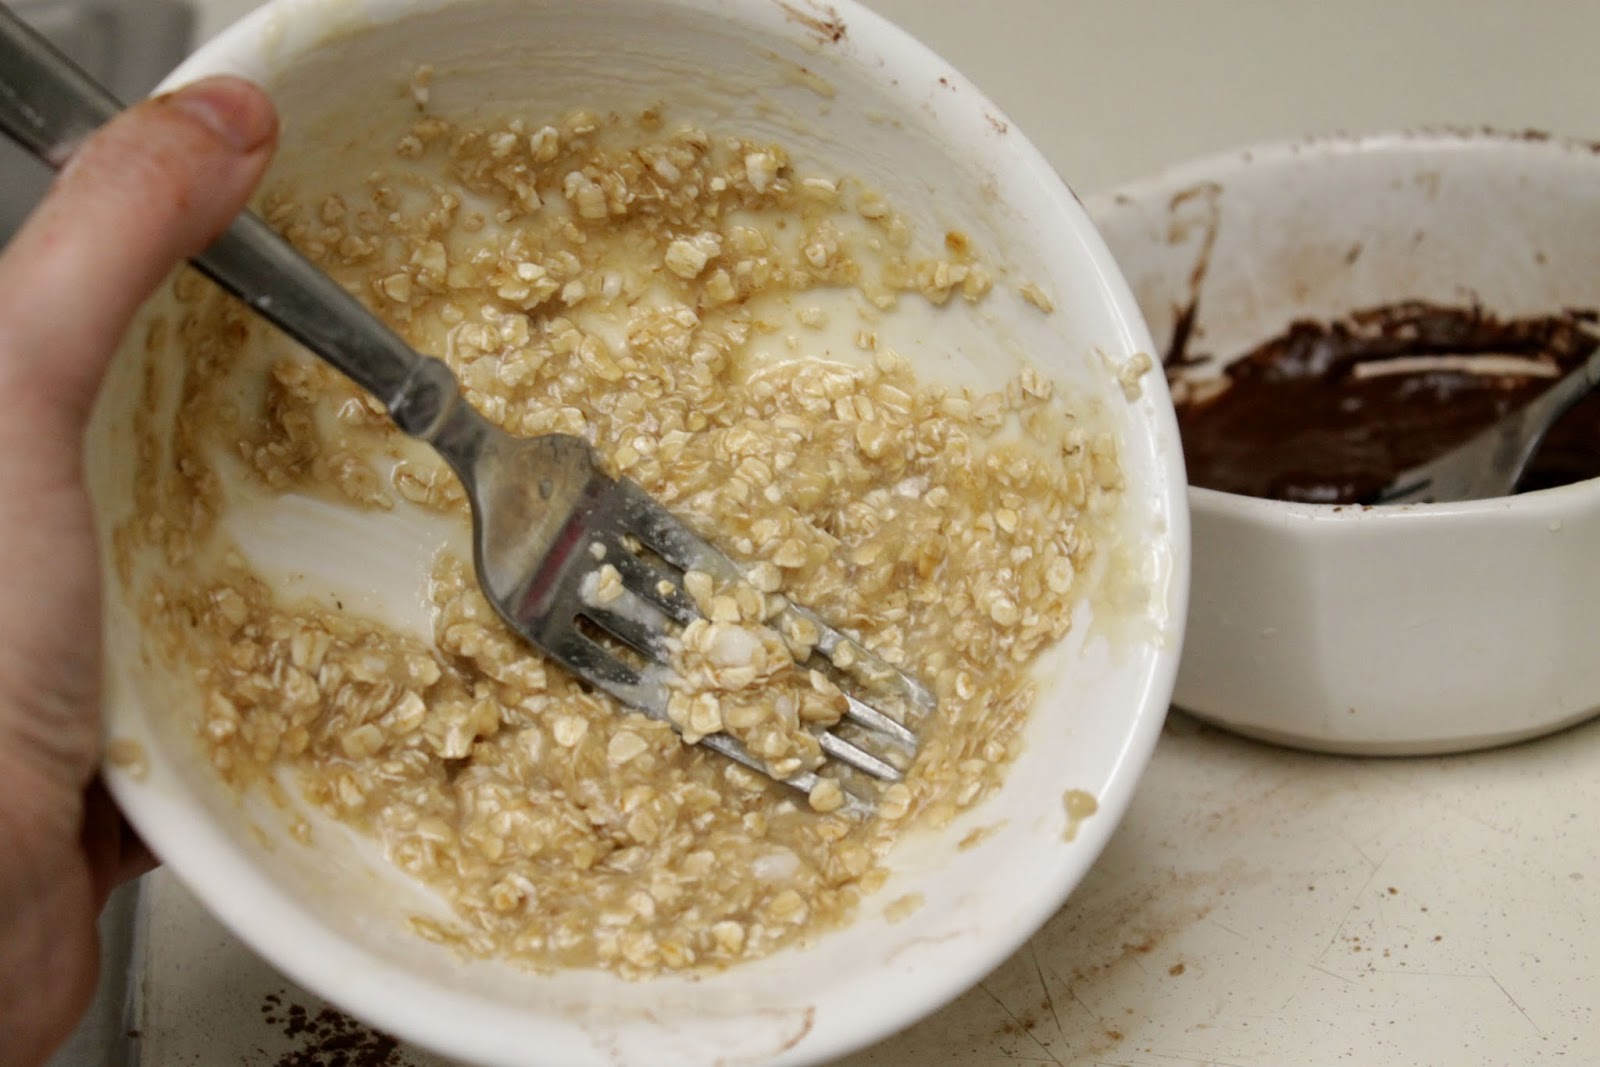
Mix it all together.


Next you can make your own face peel. So, part of a facial is that you want to get the dead skin off your face. Skin turns over every seven days, and even less as we grow older. The trick is to get it off faster so that the shiny baby skin can come through.

You need
Cup
Unflavored Gelatin
Honey
Milk
Tablespoon

1 packet of unflavored gelatin

1 tablespoon of honey

1 tablespoon of milk

Mix

Microwave for 10 seconds. I don't recommend for any longer. This stuff dries quickly so you don't want to wait a super long time for it to cool down.

Apply it kind of thickly.
I think in future I'll double the recipe and mix it better. It's better to put it on thickly simply because it makes it easier to peel.

Let it dry.

Peel.

All right, we're getting towards the end. After you've done a peel, you'll want to relax your skin. I recommend a face mask.

You need
Bowl
Cocoa Powder
Yogurt
Honey
tablespoon
This is a super simple recipe. It's a 1:1 ratio.

1 Tablespoon cocoa powder

1 tablespoon honey

1 tablespoon yogurt.
(Easy right?)

Mix

It looks like melted chocolate when your done and smells amazing.

Apply it pretty thickly all over your face, just not in your eye area.

Let it dry.
This part is optional. You can take cucumber and apply that to your under eye area.

This is actually the cucumber puree left over from the toner in the next step. I put it under the eye, but it didn't want to stay very well and kept running down. If you're going to do an eye pack, I recommend using cucumber slices.

This is a step that gets skipped a lot, but if you were getting a professional facial, they'd use a toner on your skin. This helps balance the skin and soothe it.
I found a pretty nifty recipe for diy cucumber toner.
You'll need
Cucumber
Honey
Blender
Strainer
Cup

First peel and chop the cucumber into small bits.

Put it the blender until it makes a paste.

It's going to look something like this.

Run that through a strainer. This will leave you with cucumber juice, and some pulp left over. That' you can use on your eyes later.

Add a teaspoon of honey and mix it all up.
And I'm not sure what happened to the picture of me putting it on, but you'll need a cotton ball or two and just rub it all over your face.
Last step.

Again, I don't know why I don't have a picture of this, but go ahead and moisturize your face. I use coconut oil at night just because that's one of the best.
I don't recommend using it during the day though, just because it take so long to absorb.
And your done.
Now remember

You can do the steps with store bought products. Also, if anything burns or itches your skin don't use it. Take it off immediately.
I hope you enjoy your spa day.
As always,

No comments :
Post a Comment