From Thanksgiving to January, I always got fake nails. The only problem was at the end of the season, I didn't want to keep them up anymore. I'd let them grow out because I was always too cheap to get them removed and then my nails would be torn up for what seemed like forever.
Eventually, I just decided not to do it any more. Not that I don't love it, but I don't love how much it costs and what it does to my nails.
However, there is a solution.
Buy some fake nails from the store and put them on myself. Granted, these are a more of a couple of day use, but still. Generally, that's all I need or want them for. Other than that they just mess up my nails.
So to start you'll need some things.
Fake Nail Kit
Nail Glue
Nail Clippers
Emory Board
Nail Buffer
Nail Polish Remover
Cotton Balls
I got the kit at Walmart for like 6 or 7 dollars, so it wasn't too bad. It certainly beat the 30 to 40 I pay at the salon.
Step 1
Size Nails
Take each nail and find the one that is closest to your finger nail. Here's a note that may seem duh, but until I started researching hot do this I didn't now. You put the oval edge toward your nails bed. I know that's pretty obvious, but I didn't know it.
So you'll want to find the one that is either larger than your nail or the same size. You'll want to avoid smaller. That will leave awkward gaps around the fake nail.
Before you do anything, you'll want to have all the nails lined up. It makes it go faster than doing each nail fully at one time.
Step 2
Clip real nails
This isn't a requirement, but I like to clip my real nails before I put the fake ones on.
Step 3
Shape Nail
So once you've got them lined up. You'll want to shape fake nail as much as possible before you put it on your finger.
If you look on fake nails. They have this little tab thing on the edge. I used an Emory board to get rid of that. I shaved down the edges of the nails that were a little large.
If you want to see what needs to be done, press the nail to your finger as much as you need. It helps to see when to stop.
Step 4
Buff Real Nail
Roughing up the nail a little bit seems to help the glue stick to your finger better.
Step 5
Glue the Nail
You have to do this step a little quickly.
Going one nail at a time, put some glue on your nail bed then on the fake nail.
Try to get it on straight the first time. You only get a few seconds to move it around. Once you've got it on straight, press down on your finger and the nail to to hold the nail in place. It only takes a couple of seconds.
They'll look like this once they're done
Step 6
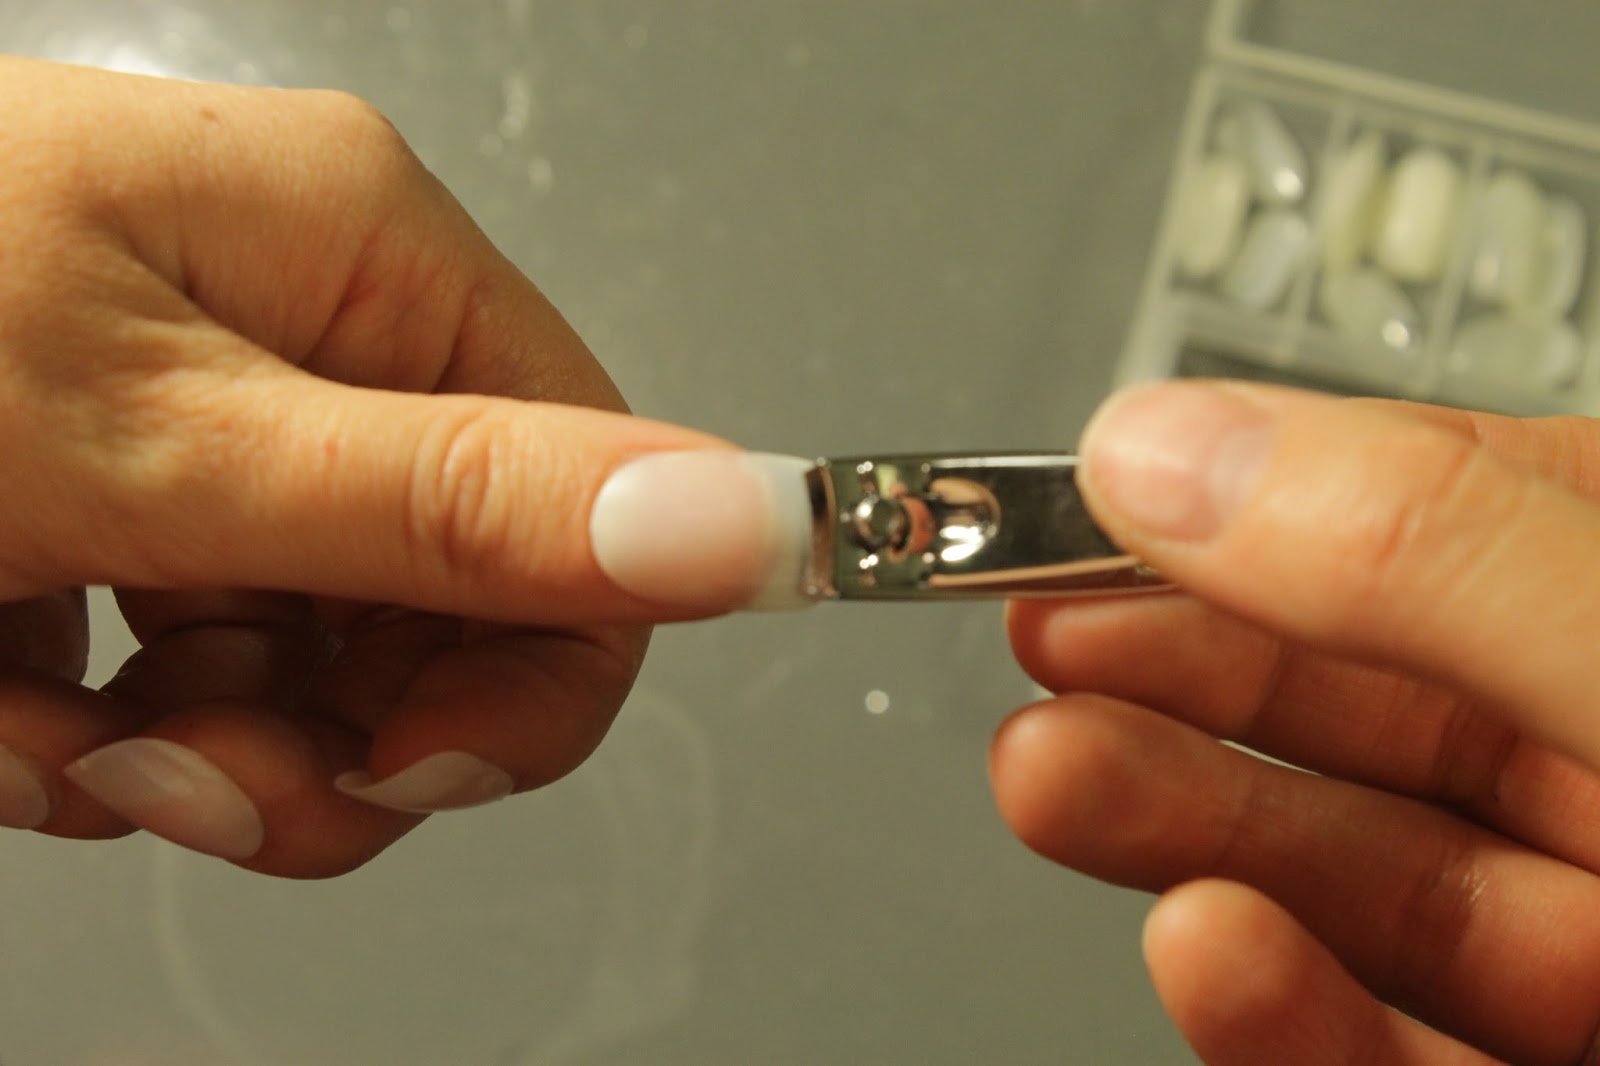
Clip Nails

Once you have your nails on you'll probably want to cut them down. You can leave them long if you want, but that's not practical to my life.
Step 7
More Shaping
Using the Emory board and the buffing block shape your nails to your fingers. I do the tips, edges and tops to kind of get them as real looking as I can.
I would use the shaping block to do the top just because your going to be buffing the skin around the nails just as much.
As a random useless side note, I hate the sound to Emory boards make when they rub together.
DONE!
REMOVING THE NAILS
So, you're done wearing your nails. Or they're starting to come up a little bit around the edges. Maybe you just want them off your fingers because they impede your life.
DON'T RIP THEM OFF!
Seriously, don't. You'll tear up your nails and it's just as bad as going to the salon.
Step 1
Remove Nail Polish
Step 2
Soak Nails
Take another or the same cotton swab and saturate it with nail polish remover.
Tear the cotton ball up and put pieces of it on each nail.
You may have to do this a couple of times simply because the nail polish remover dries up.But you'll notice that the nails get softer the longer you have remover on there.
I clipped my nails down a little bit to help with removal.
Step 3
Remove nails
Once you notice your fake nail getting soft try working it up slowly until it comes off.
It's kind of like a scab; it's not good to take it off until it's ready. So gently using either your fingernails or something thin, work under the fake nail.
If it resists at all stop and soak the nail some more. I know it sounds like a lot of work, but it will ensure the nail comes off clean.
Yay Done!
As Always,


Amazing,, best post I have ever seen. very helping and step by step understanding to create and put false nails with glue. Thanks a lot for your post.
ReplyDeleteSilver is becoming more in fashion and trendy these days. check out the whole new collection of sterling silver fine jewelry.
ReplyDeleteWearing same lockets is always very special in a relationship. Now you can get custom pendant for your locket from best custom gold pendant maker.
ReplyDelete