Thursday, December 31, 2015

New Year's Rant

New Year's Rant 


So, I went back and saw that I did a New Year's Rant last year and decided that I would try to make it a tradition. 
Last year, I was kind of down. I mean seriously, it was a dark time. Not that anything bad had happened, but I've found over the years that November to February is always hard for me. My family has experienced a lot of loss over the years during those months.  
This year, I'm still a little down, but it's all right. I know what it is. As I look back over this year, I'm going to say all the traditional things. It was happy, sad, and hard. However, I am not where I was last year. I've accomplished some of the things I set out to do. 

I don't work in a call center any more; granted, I'm not in my dream job, but I've moved forward in life. I've lived out of my parents house for a year now, and I'm not dead. I've met little goals I've set for myself this year. I sent work out to publication. I went to California and stood in the Pacific, so now I can say I have been coast to coast. I've updated the blog fairly regularly the last half of the year. 
I think that this year, while it may not be the best year ever, it won't be bad. 

Hopefully, I'll have my New Year's Eve Look up soon. If not, here's a little preview.


GLITTER EYES!


As always, 
post signature

Friday, December 25, 2015

25 Days of Beauty: OOTD Christmas Cheer

So here's the final post of the 25 Days of Beauty. 
It's an OOTD. 

I decided I wanted a change of pace, so I went to the park. I thought that it was Christmas Eve, no one is going to be here. WRONG-O. Everyone and their small bi-ped was at the park. 
Which made taking these pictures extremely awkward. 

SEE I SUFFER FOR MY ART! 
I SUFFER!
Totally kidding. 

As I've said before, I love wearing blue come Christmas time. I wanted to do something a little more dressy, but at the same time causal enough to wear to Christmas dinner. 

The top and the shoes are from Cato. The shirt has a shimmer in it which makes it nice and Christmas like.


The jacket comes from Forever 21, which I call my Hot Chelle Rae jacket
See? 

The pants are from Sasha. Some days I like them; some days feel like they me look fat. 


And in the spirit of Christmas giving here's another option. At work, they tease me because they think I never wear the same outfit twice, which isn't true, but it became a challenge to me to try to wear all my clothes. 
The peach dress is from Cato, and is actually a spring dress, but I love to re-purpose my clothes.

The jacket is actually from Wal-mart, believe it or not. I had a wardrobe malfunction one day so I had to go buy a new outfit. I love maroon for fall and winter.  

The tights are from H&M. You can barely see it in this picture, but it has a flower pattern. 


The shoes are also from Forever 21. I love these little boots. They're a wedge heel which make is super easy to walk in. I actually wore them to work and I stand on my feet for a good portion of the day. 


I wanted to do a neutral look since I was wearing two different outfits. I also baked my face, which sounds painful, but it's not. 

Enjoy!

As always,
post signature

Thursday, December 24, 2015

25 Days of Beauty: 8 Hair Care Tips

1. Brush your hair when wet. 
There are two schools on this one. I'm aware of that, but my hair dresser advised me to never brush my curly hair when dry. It only makes it frizzy and rips the hair because it has no elasticity. 
When you're hair is wet, however, you can comb it with a wide tooth comb. 
Oh, that's another thing, avoid brushing your hair, always try to comb it.
2. Wash your hair every other day
I know people who wash their hair only a few times a week. I can't do that. I have to wash it every other day. I know this sounds a little gross, and your hair will be greasy the first few days. However, a lot of times oily hair is like an oily face. Your strip your hair bare every day, and it has to over compensate.
Washing it every other day allows the hair time to actually use the oils it produces. If you feel like your hair is greasy, spray it with a little dry shampoo. 
3. Ditch the Suds
Another thing you'll want to do is get rid of your harsh shampoo. Now, I will admit that I'll wash my hair with a harsh shampoo every once in a big while, but for the most part I avoid it. I like to get shampoo and conditioner that is sulfate and paraben free. These always have less soap in them. So they don't suds as much.
Less suds = better for your hair. 
You don't have to buy them from the salon either. I go to places like TJ MAXX and get good sized bottles for good prices. 
Just as a side note, you're hair will continue to produce a lot of oils when you first make the change. Don't stop though. It will eventually get used to the changes and produce oil accordingly.
4. Don't sleep on your hair
I mean it. Put your hair in a bun or a braid at night. Even if your not a restless sleeper, you still move around in your sleep. All that tossing and turning tears your hair. Putting it up minimizes the damages.
5. Beat the Heat
This is one of the most common hair tips. Try to avoid using heat on your hair. There are plenty of hair hacks that allow you to style your hair with out heat. Braids are my favorite. I braid my wet hair and sleep on that.
6. Use hair masks
I try to put a hair mask or deep conditioner in my hair at least once a week. Even though if you don't put a whole lot of heat on your hair, life is still tough. A lot of times I'll buy mine from the impulse section at Ulta. They're usually only $2 or $3 and I get more than one use out of them. You don't have to buy them, though; you can also make your own like this one
If you don't want to do either of those, just leave in your conditioner over night. 
No matter what you do, focus on the ends of your hair. That's the oldest and deadest hair. It needs the most love.
7. Don't touch your hair
Our hands are gross. We know this. They're also oily. The more you touch your hair the dirtier and greasier it gets.
This one is hard for me. I get annoyed or hot and my hair goes up. Then it annoys me that it's up so I take it back down. Also, I touch my hair when I'm nervous or relaxing. 
Yeah. Still working on this one. 
8.  Trim your hair regularly
I'm not saying cut your hair into a bob, but get rid of the deadness. Trim your ends a little bit once you start noticing them looking like a broom end. It cuts down on frizz, but also allows the new growth get longer rather than going into the breakage. 
Besides, this is a two-for. I get in these weird moods where I want to chop all my hair off. Trimming it allows me to change my hair with out making a commitment to it.
Those are my eight hair care tips. 
Enjoy!
As Always,
post signature

Wednesday, December 23, 2015

25 Days of Beauty: December Ispy Bag Review


Here we are again. It's time for an Ipsy Bag review.


So, lets start with the bag. 


It's kind of small, but it's really cute. It zips on the top and the Ipsy tag is in the shape of little lips. 


Here's a shot of everything that came in the bag this month. 


First thing is a hair care product. It's Marc Anthony Hair Care coconut oil and Shea Butter Deep Conditioning Treatment. 
I think this is my favorite thing in the bag that I've used. It smells amazing. And really makes your hair soft. It runs about 5.99 at Ulta. 


Pacifica
Power of Love Natural Lipstick in Nudie Red. 
This runs 9.99 at Target. It's a pretty color, but oh my word, does it stink. I swear it smells like makeup. It doesn't have any lasting power, but it's pretty. 


This is the lipstick and the lip liner. 


Model Co.  
Lip Enhancer Illusion Lip Liner 
It runs $18.00 online. It wouldn't be the same exact thing, but close enough. I think I'll use this lip liner a little bit more because ipsy keeps sending me nude colored lipstick. I think I might go and change my preferences so I can get a different color. 
Here's an arm swatch. 

The lipstick is to the left and the lip liner is on the right. 


Tarte  Cosmetics
Smooth Operator Amazonian clay finishing powder. 

I couldn't find a price comparison for this because it's a sample size. I could only find the .13 oz which is $14.00. So I guess this would probably be like $7.00. Anyway, I was super excited to try this. I love tarte products, but I never seem to justify the price. This way I can use it sparingly, but still have some. 


Lastly, it's Ricky Care 3D Blender. 
It runs roughly $10.00. 

It's a beauty blender. I haven't noticed a huge difference in the application from any other blender I've had. 

Anyway, that's the Ipsy Bag. 

As always,
post signature

Tuesday, December 22, 2015

25 Days of Beauty: Jenna Hipp Nail Swatch


So, one of the new waves is Jenna Hipp's nail polish. They're extremely hard to find. I can only find them at Costco. The only other place I've seen them is eBay or online. 
This is actually green nail polish. It doesn't have the harsh nail polish fumes.  


Most of them come in the pack of 8 mini colors and one nail file board. Here I have Candies collection, but there are three or four other ones. This set was the only one I could find at Costco. It cost me roughly $10.00. 


Here's everything out of the box. 

So when you do these you still need to put a base and top coat on to keep these pretty for a long time. They last fairly well on their own. 


First color, American Pie


Creme De Cantoloupe


Marshmallow Fondant


It looks really yellow in the bottle, but not as much on your fingers. It's a nice base white coat. You may have to put two coats on keep it from being patchy. 


Pink Lady Finger


Rose Tart
This is a nice bright pink vs the one above which is more peach.


Thin Mint


Tres Parfait


Violet Eclair


This one is sheer, so it's going to need more than one coat. It's also got a fair amount of shine in it, which I don't think you can really tell in the pictures.


Anyway, these are really good nail polishes.

Enjoy.
As always, 


post signature

Monday, December 21, 2015

25 Days of Beauty: DIY Pedicure


So, to complete the DIY for 25 Days of Beauty we have a pedicure complete with a DIY foot soak and scrub.  I know it's winter and we're not wearing open toe shoes at all, but I think it makes your feet more torn up. 
Besides, around Christmas time, people get more stressed than any other time, and nothing relaxes you as much as a pedicure. 

So, before you begin, you'll want to make your scrub and soak. 

DIY FOOT SOAK

You'll need three ingredients. This is another 1 to 1 ratio too so measurements don't matter as much. 
Use Baking Soda
Epsom Salt
Sea Salt

Then a scoop of some sort and a bowl. 

And as a side note, don't buy your Epsom salt at Ulta or places like that. Walmart is way cheaper. 

I used a forth of a cup for each, and it made way more than I needed. 
Isn't my owl measuring cup adorable? 
I love him. 

Mix it all together. 

Set that aside and go ahead and make your scrub. 


DIY FOOT SCRUB

Again,
Three ingredients
Sea Salt
Oil
Lemon

And a bowl or container 

Technically you don't need the lemon, but I put it in there because it's good for your skin. Basically for any scrub you need something rough and an oil. You can add a flavor, but it's not necessary. 
Mix it all together. 

This made me a fair amount of stuff. Enough for more than one use. 


Ok so then once those are made, you can begin the pedicure. 


So it's a lot of stuff, but some of that is for the soak and the scrub. 
You'll need a basin of some kind, but since I don't have one, I used my sink. You can also use your tub. 
Here's the list of stuff you'll need.
Soap
Nail Polish Remover
Milk (not pictured, I added it as an after thought.)
Oil
Foot Soak
Pumice Stone/Foot File
Foot Scrub
Towel
Emory/Buffing Board
Nail Polish 
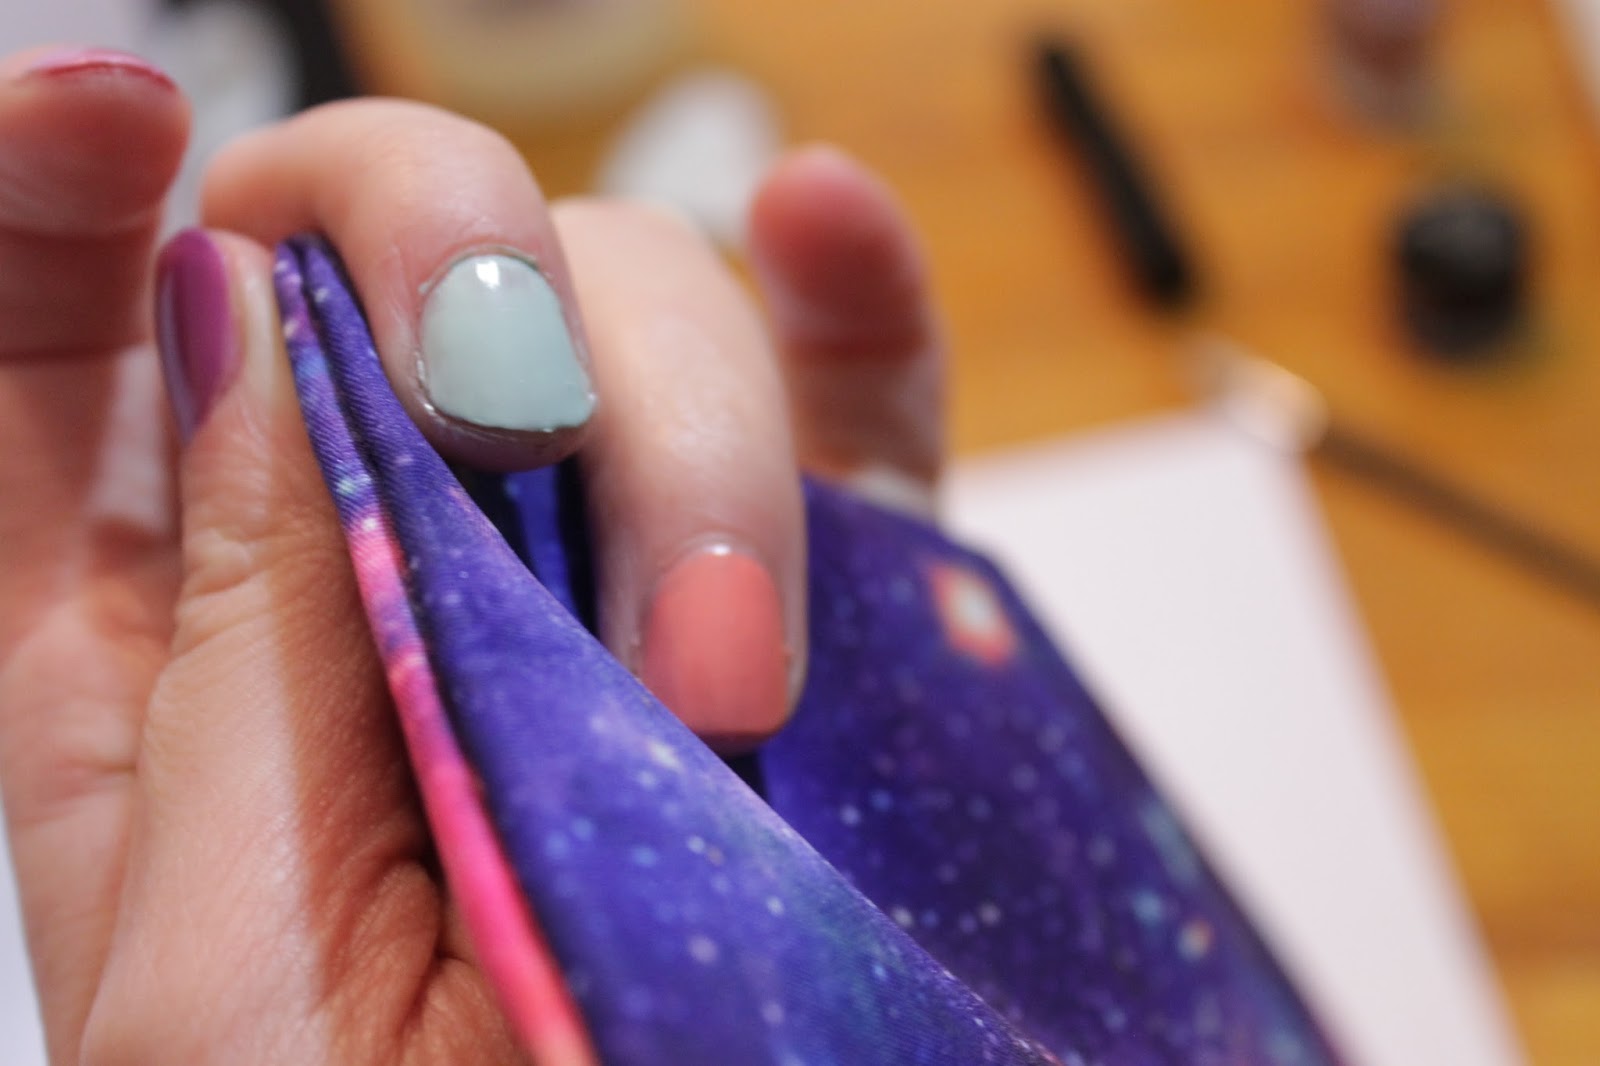
Toe dividers (optional)
Moisturizer
Socks
Yay for a lot of stuff. 

So step one

So, this is kind of a dumb step, but my feet are always insanely dirty, because I live in the desert. I wore a long dress the day I did this too, so they were even worse than normal. 
I don't know about anyone else, but the thought of putting dirty feet into a foot soak just doesn't appeal to me. 
If you want to order the soap, my friend, Silhouette Soap, makes them. You can see a listing of her natural soaps here


This is self explanatory.

Once you've got the nail polish off, you'll want to prepare your water. I don't recommend doing it before because you want warm soothing water, not cold water. 

Fill your basin with warm water. (Here's a plus about the sink or the tub. If the water runs cold before you want to get out, run more warm water.)

You'll want to add oil and milk to your water at this point. The lactic acid in the milk will help peel the feet, and the oil will soften the feet and cuticles. 


Now add your Foot Soak Mix. I used a forth of a cup for a full sink. 


Soak your feet for a while. You can massage them while they're in the water. Also, once your cuticles feel soft enough, go ahead and push them back, either with your finger or with a cuticle pusher.
For an added spa experience, you can buy the little decorative glass rocks from dollar tree and put those in your water. As you run the bottom of your feet over the rocks, it will massage them. 
Keep your feet in the water till the skin is soft.


Once your skin is off scrub your feet. These next three steps aren't in any specific order. 


First use the pumice stone on all the callouses on your feet. I have them on my heels the balls of my feet and under the big toe. 


Then go over it with a heel shaver. 


Lastly, I used my foot scrub and just went all over to get the skin off. Then you rinse your feet and dry them off. 


So, ignore the green on my toe. I'm right handed so I needed to hold the Emory board with my right hand, but it was too awkward to take a picture of my right foot. 
I dropped a table on my tow at work and that's why it's green. There's nothing really wrong with it. 

So take a regular Emory board and file down the tips of the nails. This way you can get a nice square shape to them. 

Once you're done there, you'll want to use a buffing board to do the nail beds.

You'll remember this guy from manicure tutorial.

It's the multi step buffer. 


I think these two steps can be interchanged. 


I was doing this before bed and kind of wanted to lock in the moisture. So I painted my nails, and waited for them to dry. Then put on the moisturizer so I could put a sock on them. 

 Obviously, if you're doing this before going out, skip the sock moisturize and then paint. 


And you're done.

As always,

post signature